
Directions for Herringbone Box (6’’ block)
Cutting Directions: Feature fabric: cut (2) 3 1/2’’x 6’’strips.
Choose 3-6 accent fabrics, and cut 16-20 strips measuring approximately 1’’x4 1/2’’.
Vary the width of the strip if desired.
Cut 2 strips of paper 3’’x6’’.

1. Angle a strip of fabric on one of the 3’’x6’’ pieces of paper. Use a washable glue stick or pins to hold it in place.

2. Place a second strip face down on one side of the first strip, sew 1/4'' seam allowance along the edge. Open, press, and repeat with additional fabric strips until you have covered half of the piece of paper.
3. Place a strip face down on the other edge of the first strip, sew 1/4'' seam allowance along the edge. Open, press, and repeat with additional fabric strips until you have covered the rest of the paper.

4. Repeat steps 1-3 with the second piece of paper. Make sure the second strip is angled opposite the first, otherwise you will end up with two diagonal stripes instead of a herringbone pattern.
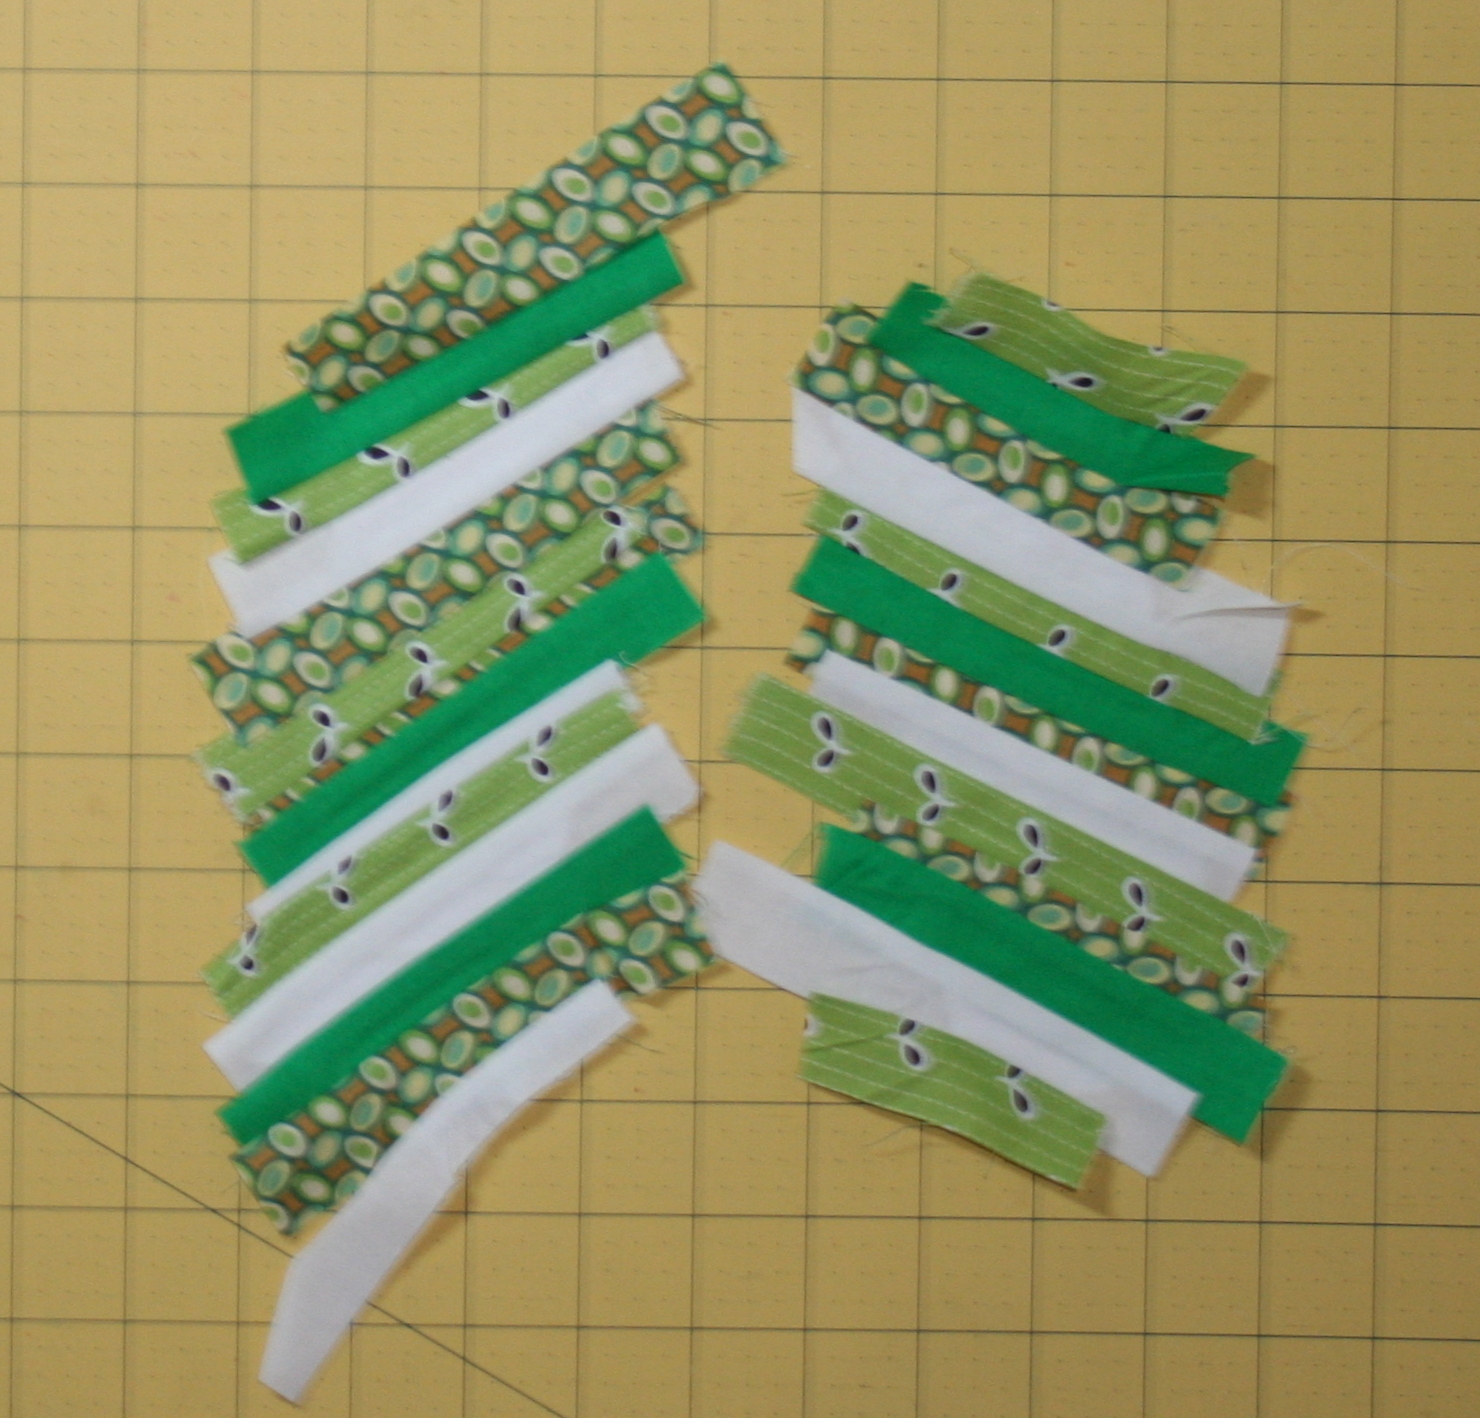
5. Place fabric strips face down on cutting mat, and using a rotary cutter and ruler, trim around the edges. Remove paper from back of both blocks.

6. Cut each of the diagonal strips in half—you are left with 4 strips measuring 1 ½’’ x 6’’. Create a herringbone pattern with two strips, place right sides together, pin, and sew. Repeat with remaining two strips.

7. Choose 1 of the sewn herringbone strips, and sew a 3 ½’’ x 6’’ rectangle of the feature fabric on each side. Press.

8. Using a ruler and rotary cutter, make a cut somewhere near the middle of the block as shown below. It is your choice whether you make a straight or wonky cut (as shown).

9. Pin and sew the remaining herringbone strip right sides together to one half of the block. Press. Repeat with the other side.
10. Square up the block to a 6’’ square—there is plenty of extra fabric in case you decide you want a wonky block.


7 comments:
Is this a 6" finished size? should it not be a 6.5" unfinished?
What a great idea! I will have to try it. Thanks for sharing..Judith Texas
Hmmm. That is a very good question. I'll find out. Sorry about that!
Great block! This is such a cool design!
what a great way to try the braid without committing to a big quilt.
I love the block!
This is a lovely block. Thanks for the tutorial.
Post a Comment