Wednesday, July 18, 2012

Christmas in July Block 8-Sasikirana

Stack of Presents Block by Amanda Sasikirana
Finished size: 11" square

What's more fun at Christmas than a stack of presents tied with a sweet ribbon? I choose to make my presents in two fabrics, but feel free to make yours in three different ones!

Cutting directions:
Fabric A (present #1) 4 2.5" x 2.5" squares
Fabric B (present #2) 4 2" x 2.5" rectangles 4 2" x 4" rectangle
Fabric C (present #3) 4 2" x 4" rectangles 4 2" x 5.5" rectangles
Fabric D (ribbon) 2 1.5" x 5.5" rectangles 1 1.5" x 11.5" rectangle


Sewing directions: Make 4 identical units for the corners of the block.


For each unit, take 1 2.5" x 2.5" fabric A square and 1 2" x 2.5" fabric B rectangle. Sew with right sides together and press.


Take 1 2" x 4" fabric B rectangle and sew on the long side with right sides together. Press.


Take 1 2" x 4" fabric C rectangle and sew on the long side with right sides together. Press. Take 1 2" x 5.5" fabric C rectangle and sew on the long side with right sides together. Press. Repeat with the remaining fabric A, B, and C pieces to make 4 corner units.


Sew the corner units together using fabric D rectangles as pictured. Best Blogger TipsShare/Bookmark

Monday, July 16, 2012

Christmas in July Block 7-Persimon Dreams

cutting layout
‘Presents Under the Tree’ by Kim at Persimon Dreams


Materials:
Color 1 (A): 4.5” x 4.5”
Color 2 (B): 2.5” x 2.5”
Color 3 (C): 1.5” x 1.5” White (a) 2 – 2.0” x 4.5” (b) 2 – 2.0” x 2.5” (c) 2 – 2.0” x 1.5” (d) 2 – 4.0” x 2.5” (e) 2 – 5.0” x 1.5” (f) 2 – 1.0” x 7.5” (g) 4 – 1.25” x 7.5”

labeled piees

This is a simple block to piece together which I think adds to the beauty of it.
Once you have all the pieces cut out lay them out as indicated in the above diagram.

4.5 inch strip

I started with the A section. Sew the white (a) to the blue (a) seams and iron toward the white. Next, iron the white (d) and (b) fabrics to the lime green (b) fabric. Iron the seams toward the lime green. Iron the white (e) and (c) fabrics to the solid green (C) and iron toward the whites.

opposite seams

Ironing the seams as indicated will help line the fabrics up properly as the strips are sewn.

colored stripped pieced

Now that all the 7.5” strips are pieced together it’s time to sew them all together as indicated in the labeled diagram. Iron your seams towards the long strips of white. Because we ironed the strips with colors of fabric in opposite directions one can use the seams to make sure the bottoms all match up.

Final Block Best Blogger TipsShare/Bookmark

Friday, July 13, 2012

Christmas in July Block 6-Swim Bike Quilt

Katie Blakesley Swim, Bike, Quilt http://www.swimbikequilt.com/

Directions for Herringbone Box (6’’ block)

Cutting Directions: Feature fabric: cut (2) 3 1/2’’x 6’’strips.
Choose 3-6 accent fabrics, and cut 16-20 strips measuring approximately 1’’x4 1/2’’.
Vary the width of the strip if desired.
Cut 2 strips of paper 3’’x6’’.


Block Assembly: Note: Use starch or starch alternative when pressing the fabric, and reduce stitch length so that the needle perforates the paper. This will make the paper easier to remove in step 5.
1. Angle a strip of fabric on one of the 3’’x6’’ pieces of paper. Use a washable glue stick or pins to hold it in place.


2. Place a second strip face down on one side of the first strip, sew 1/4'' seam allowance along the edge. Open, press, and repeat with additional fabric strips until you have covered half of the piece of paper.

3. Place a strip face down on the other edge of the first strip, sew 1/4'' seam allowance along the edge. Open, press, and repeat with additional fabric strips until you have covered the rest of the paper.


4. Repeat steps 1-3 with the second piece of paper. Make sure the second strip is angled opposite the first, otherwise you will end up with two diagonal stripes instead of a herringbone pattern.


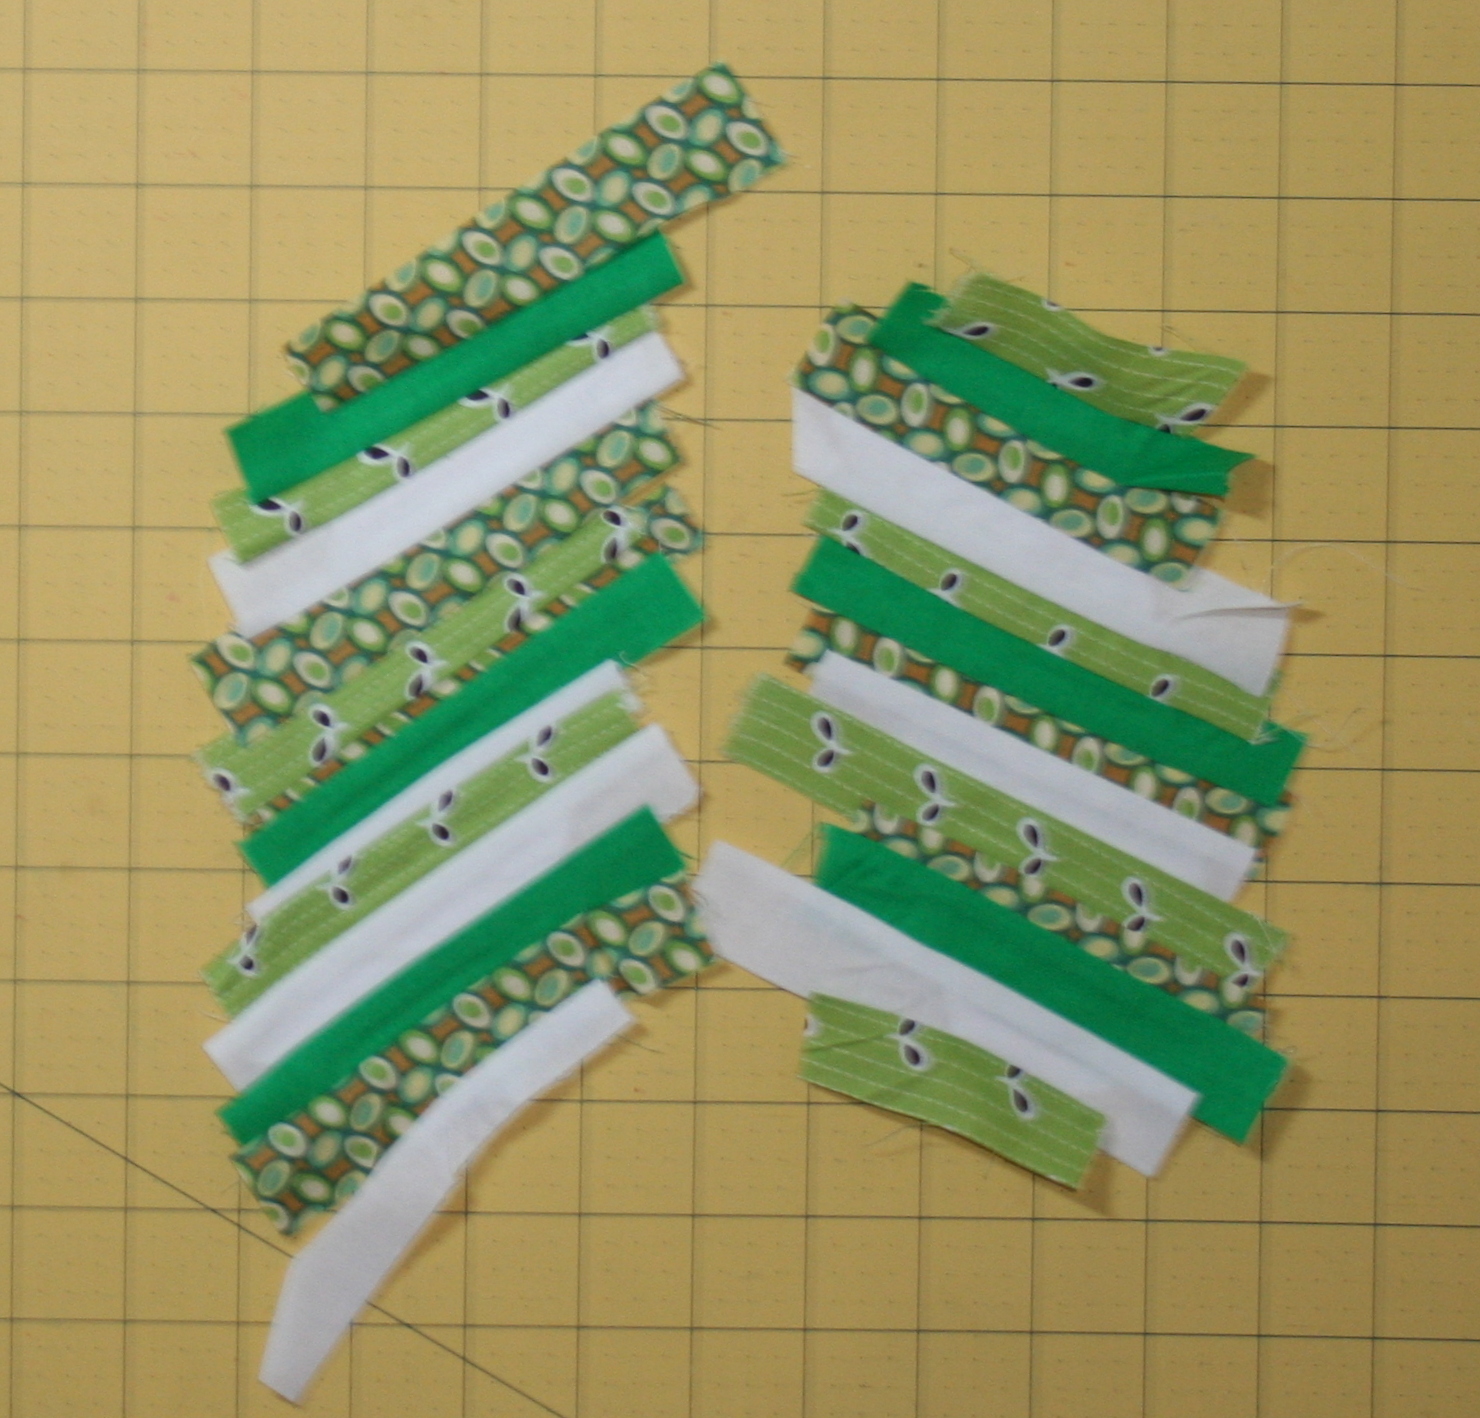
5. Place fabric strips face down on cutting mat, and using a rotary cutter and ruler, trim around the edges. Remove paper from back of both blocks.


6. Cut each of the diagonal strips in half—you are left with 4 strips measuring 1 ½’’ x 6’’. Create a herringbone pattern with two strips, place right sides together, pin, and sew. Repeat with remaining two strips.


7. Choose 1 of the sewn herringbone strips, and sew a 3 ½’’ x 6’’ rectangle of the feature fabric on each side. Press.


8. Using a ruler and rotary cutter, make a cut somewhere near the middle of the block as shown below. It is your choice whether you make a straight or wonky cut (as shown).


9. Pin and sew the remaining herringbone strip right sides together to one half of the block. Press. Repeat with the other side.
10. Square up the block to a 6’’ square—there is plenty of extra fabric in case you decide you want a wonky block.

Best Blogger TipsShare/Bookmark

Wednesday, July 11, 2012

Christmas in July Block 5-Kelsey Creates

Flocking Trees

Hey this is Kelsey from Kelsey Creates! Decorating the Christmas tree is one of my very favorite Christmas activities. This quilt block uses a simple and fundamental quilt unit, flying geese, to create a modern interpretation of decorated Christmas trees. There are many ways to create flying geese, but for this tutorial I chose what I view to be the simplest method for beginning quilters.

Feel free to substitute any other method if you desire, there is nothing magical about the this particular method, but I believe it is the most straightforward.

1. Prepare your fabric. Pressing your fabric before you begin cutting is crucial to accurate piecing. If you take the time to press your fabric before you begin, your cutting will be more accurate, and you will have more accurate flying geese with nice pointy points.

2. Cut your fabric. Each flying geese unit is made up of three pieces of fabric - two squares in the background fabric, and one rectangle for the foreground. The diagram below displays the dimensions and quantity to cut for all of the pieces needed in this block.

3. Take each of your 22 2.5” x 2.5” squares, and draw a line from one corner to the other, using either a water soluble pen if available, or lightly in pencil if not. Try to get it precisely on the corners.


4. Take one of the 2.5” x 4.5” rectangles and one of the 2.5” x 2.5” squares, and align the square on the left side of the rectangle, right sides together. The diagonal line you drew should be on top, running from the bottom left corner up to the top-middle of the rectangle.


Repeat this for the remaining 10 2.5” x 4.5” rectangles.

5. Sew along the outside of the line, towards the corner where the two pieces of fabric overlap. By sewing to just the outside of the line instead of right on the line, you account for the slight amount of fabric that gets taken up in the seam itself, and in turn have a more accurate flying geese unit. See the picture below for how this should look when you are done.


Repeat this for the remaining 10 units.

6. Take your quilting ruler, and trim to ¼” from the seam you just sewed.


Now your block should look like this:


Repeat this for the remaining 10 units.

7. Now you need to press open your seam. I recommend pressing away from the middle, towards the corner of your block, like so:


Repeat this for the remaining 10 units.

8. Now we are going to repeat this on the other side of the flying geese units. Take one 2.5” x 2.5” square and line it up on the right side of the unit, with the line you drew going from the bottom right up to the top middle.


Repeat this for the other 10 units.

9. Sew on the outside of the line, trim, and press all 11 units, just like you did on the left side. When you are finished, the back of your unit should look like this:


and the front of the unit should look like this:


Notice that the top point is ¼” from the top of the block. This is the seam allowance so that when you sew all of your geese together, you don’t lose the point inside the seam.

10. Now you have all 11 flying geese units complete, and can lay out all of the pieces in their final arrangement.


11. Start by sewing together your columns of geese. For each unit that you add, made sure the point of the previous unit meets the bottom edge of the new unit, right sides together, so that they all end up going in the same direction.


Try to sew your seam so that it goes right through the point where the two angled seams meet.

12. Once your two columns of geese are sewn, add the large 4.5” x 6.5” rectangle to the top of the shorter column.


13. Press the seams on the left column downward, and press the seams on the right column upwards. Having the seams go in opposite directions makes it easier to sew the two columns together and have all of the points meet accurately.

14. Put the two columns together, rights sides together. At each place where the sides of two geese meet, try to align the seams as best as you can, and place a pin along side them. Lots of pinning in this step will make sure your geese line up side by side.

15. Sew the two columns together, press, and you have your completed block!

Best Blogger TipsShare/Bookmark

Monday, July 09, 2012

Christmas in July Block 4-Pam Kitty Morning

Finished block size = 6 inches


Cutting:
Bow fabric: cut (3) 1 7/8" square, cut each square in half diagonally yielding 6 triangles
Gifts
Gift 1: (1) 3 1/2" x 2 1/2 " rectangle
Gift 2: (1) 5 1/2" x 2 1/2" rectangle
Gift 3: (1) 4 1/2" x 2 1/2" rectangle
Background: (3) 1 7/8" squares, cut each square in half diagonally yielding 6 triangles.
(1) 2 1/2" square (1) 1 1/2" x 2 1/2" rectangle


Construction:
-Stitch bow fabric triangle to background fabric triangle
-Press to bow fabric Make 6

Layout block using finished block photo as a guide

Stitch half square triangles together as show in step 4 photo pressing seams open

Assemble each gift

Using step 6 photo as a pressing guide, assemble block
Thanks for sewing along, and you can find me over here at PamKittyMorning!
Best Blogger TipsShare/Bookmark