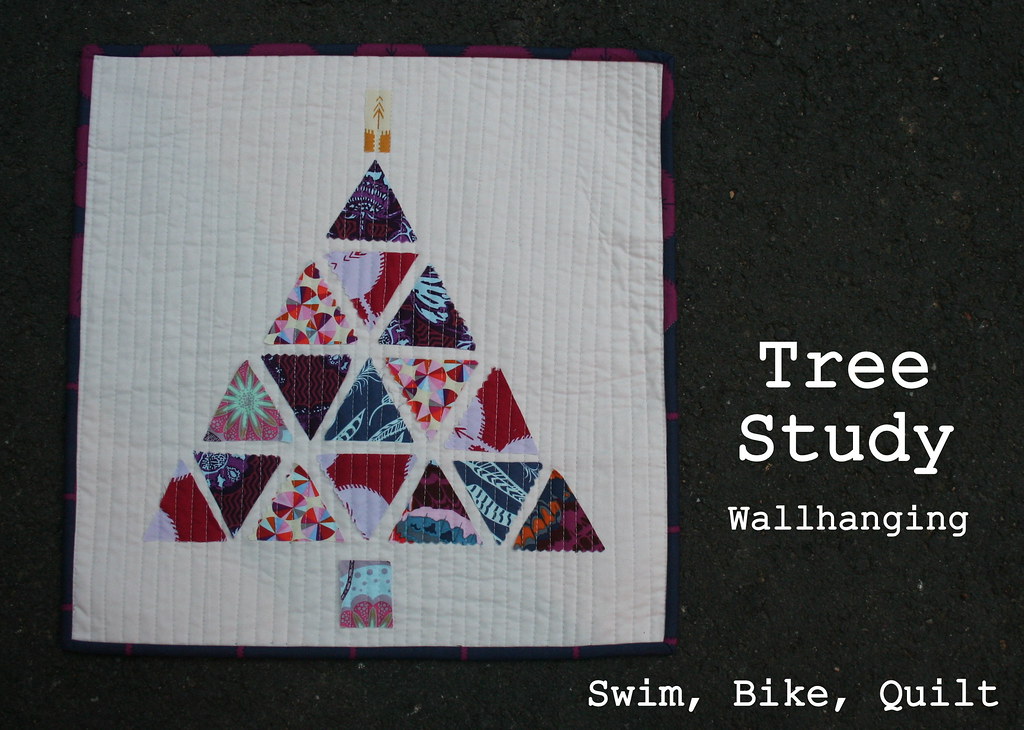
My name is Katie Blakesley, and I blog at Swim, Bike, Quilt. I'm happy to be sharing Tree Study, a holiday wall hanging as part of Week 10 of FreeSpirit's 12 Weeks of Christmas.
Since it is already December (how did that happen?), I wanted to design something simple that featured the rich colors in Anna Maria Horner's Field Study line. The saturated, bold colors work well in this holiday wall hanging (or pillow), yet it's a project that doesn't scream "Christmas."
Supplies
Charm Pack, Jelly Roll, or a variety of FreeSpirit prints/solids
2/3 yard neutral solid
20'' x 20'' piece of batting
2/3 yard backing fabric (or 1/2 yard with plans to piece the back)
Cutting
(17) 2 1/2'' Equilateral Triangles
20'' x 20'' neutral solid square
20'' x 20'' batting
20'' x 20'' backing fabric (if using a 1/2 yard of fabric, piece the back)
(2) 2 1/4'' x width of fabric strips for binding
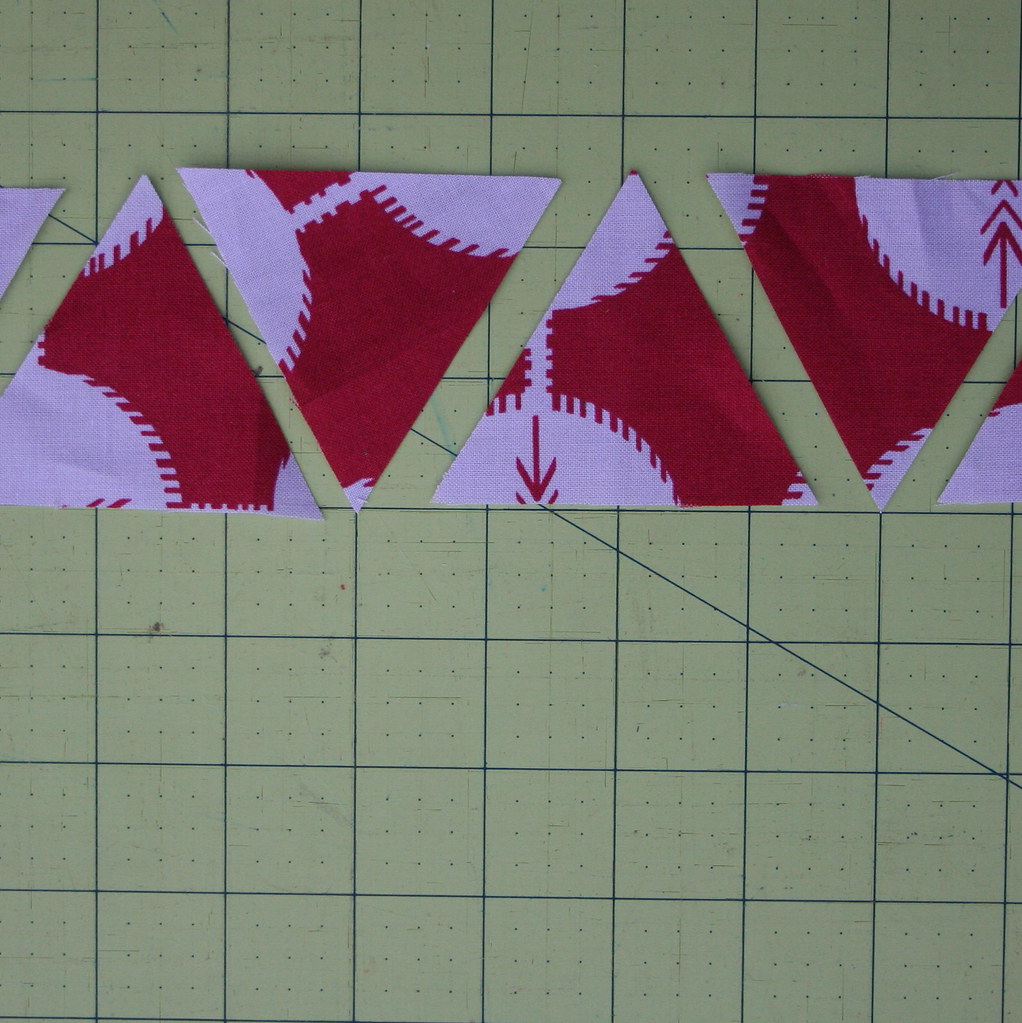
Cut 17 equilateral triangles in a variety of prints--remember that equilateral triangles have 3 equal 60 degree angles.
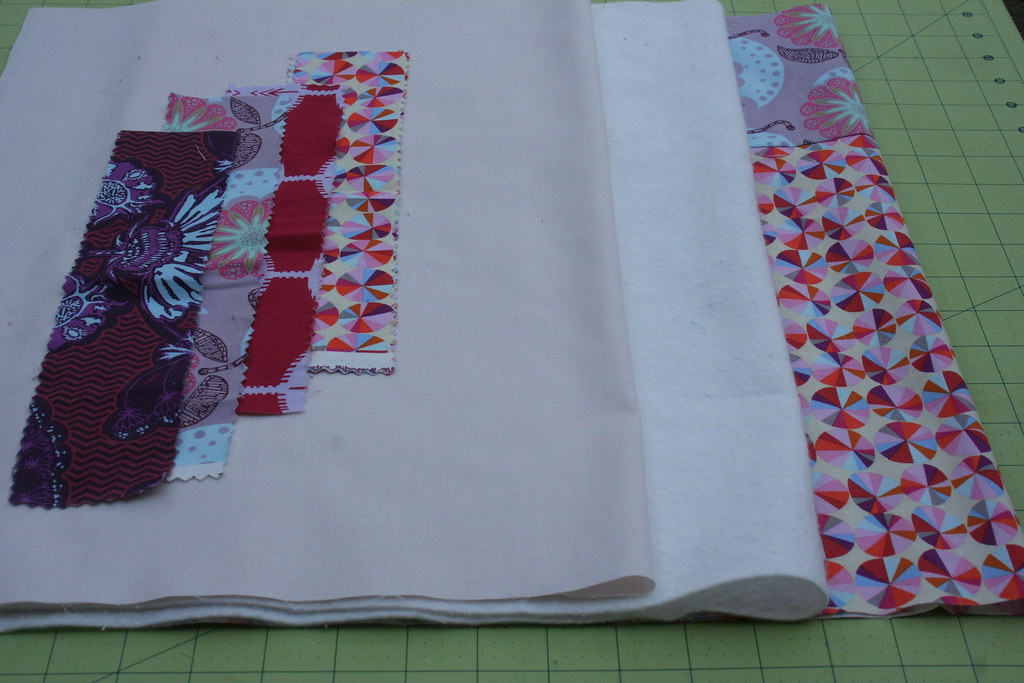
1. Cut four or five 2 1/2'' x 12'' strips in different fabrics.
2. If you have an equilateral triangle ruler, use it to cut multiple triangles of each fabric. [Note: Tri-wreck rulers are not equilateral triangles. I have made that mistake before].
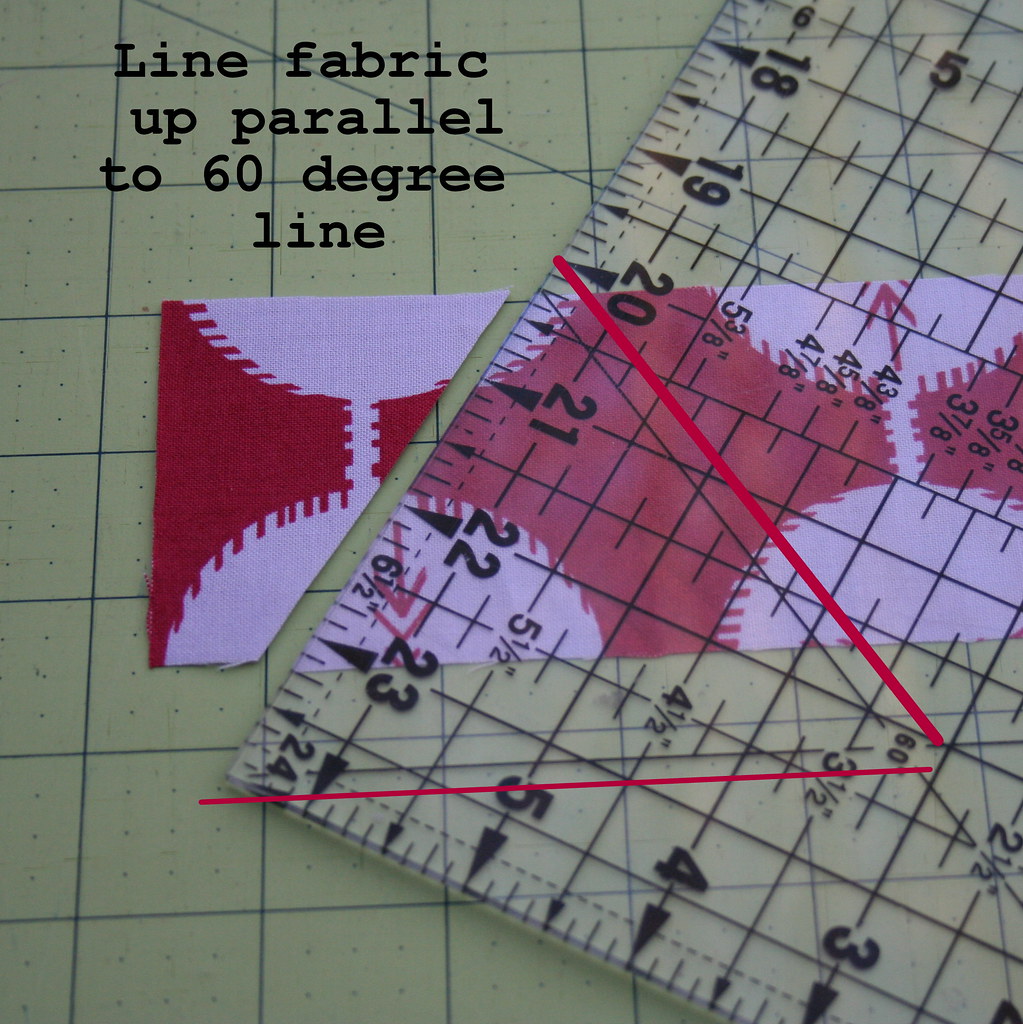
3. If not, locate the 60 degree angles and lines on your quilting ruler.
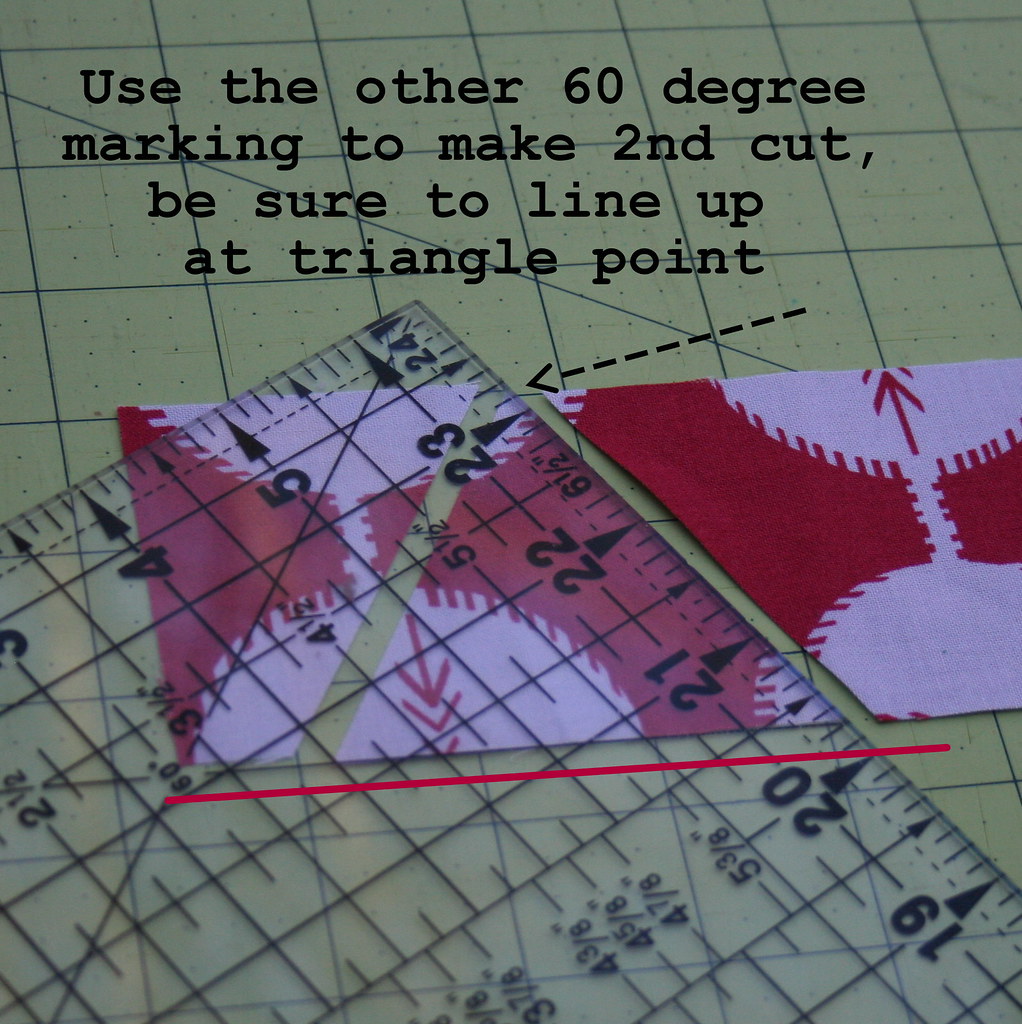
Line the bottom of the 2 1/2'' strip along the 60 degree line on your ruler (or parallel to the line as shown.) Cut along the left hand side of the 60 degree line.
4. Rotate your ruler, and make sure to line the ruler up with the triangle point (at the top). This time, line the fabric along the bottom 60 degree line, and make a cut on the right hand side.
5. Continue rotating your ruler in this way to cut additional triangles.
6. Make a quilt sandwich (solid fabric, batting, backing fabric)--baste with pins or spray baste.
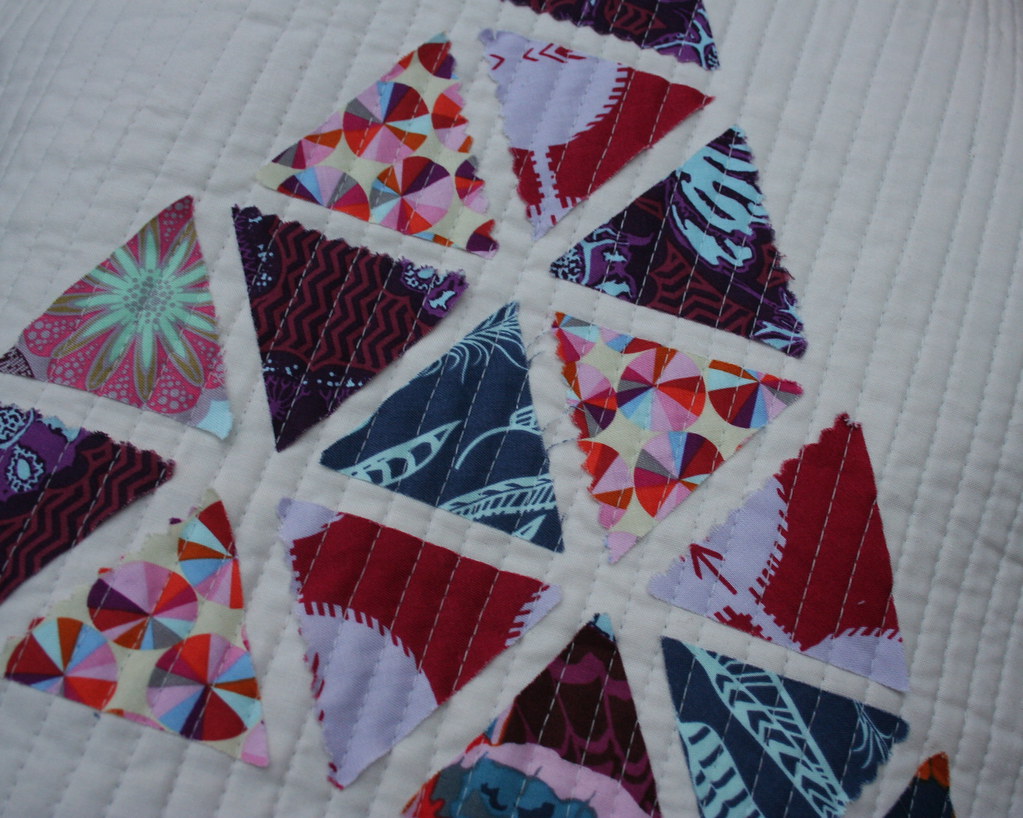
7. Lay out your quilt triangles as shown below. If you would like, use a water soluble pen, chalk, or hera marker to draw guide lines around the outside of the large triangle, or straight horizontal lines for the rows. I just went for it.
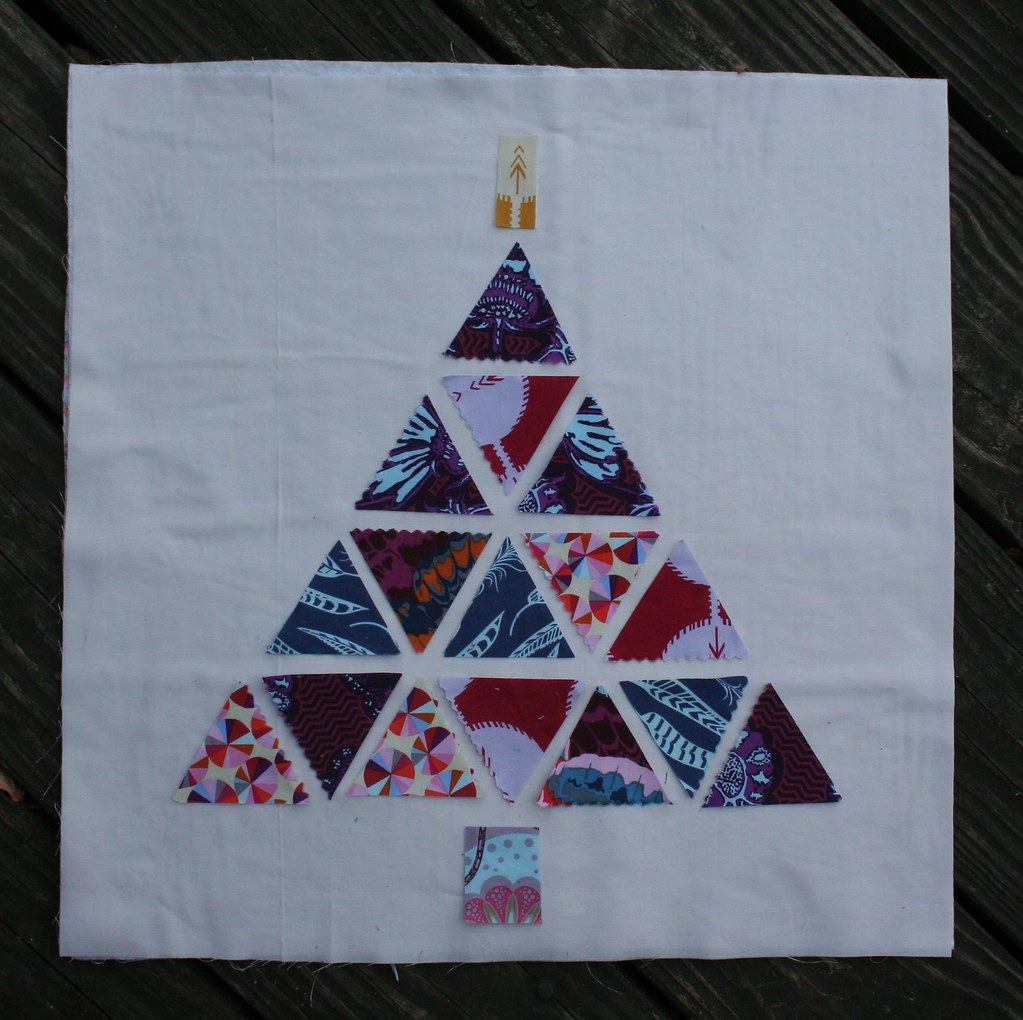
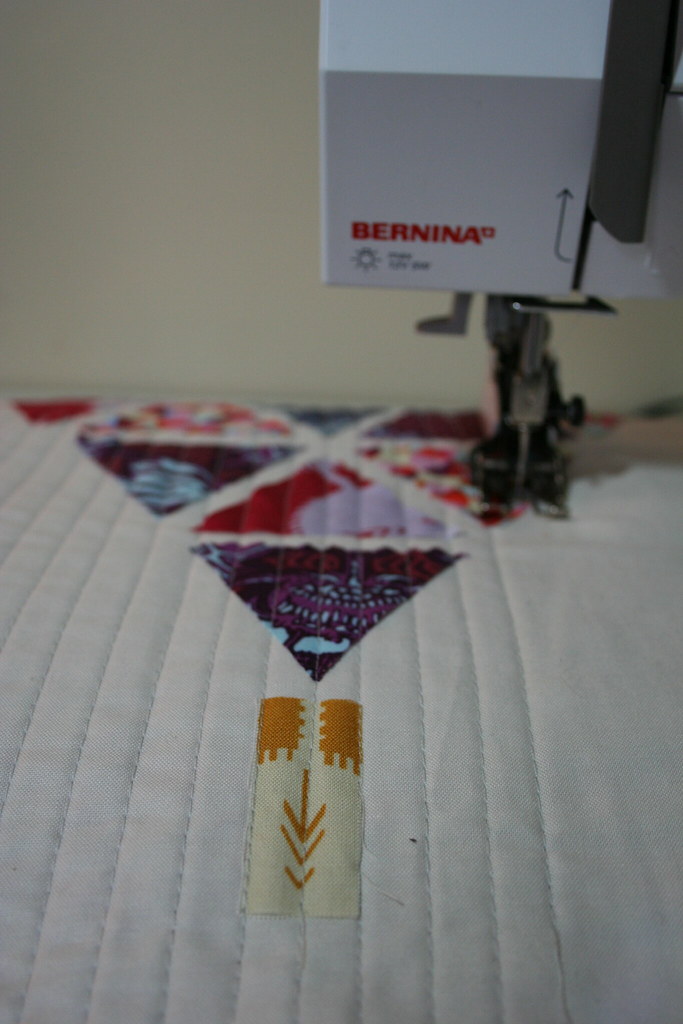
8. Using a walking foot and the ticker tape method popularized by Amanda Jean, mark and sew a straight line down the middle of the Christmas tree. Because the wall hanging is small, there is no need to attach or pin the triangles. If one falls off while you are quilting, just set it back in its place and keep going.
9. Mark a straight line about 5 inches on both sides of your center line--this will work as a visual guide in case your straight lines start getting a little bit crooked. Continue to straight line quilt on either side of the center line, radiating outward. I used the edge of my walking foot as a guide.
Note: Don't worry if the lines aren't exactly straight--the net effect of the densely quilted lines will "read" as straight. Unless you really do want them exactly straight, in which case I would mark most of the lines with a hera marker.
I added a little "star" at the top of my Christmas tree because I thought the Coordinates print in Saffron was perfect.
10. Continue quilting until you have filled the entire wall hanging with lines. I suggest that you rotate your wall hanging after every few lines, sewing top to bottom, then bottom to top. This will help with the fabric "pull" at the bottom of the wall hanging.
11. Bind the wall hanging using the 2 1/4'' strips and your favorite binding method.
Happy holidays and happy sewing!
~Katie





12 comments:
Beautiful - so simple but very elegant!
nice! love tree patterns and yours is one of the best!. thanx for the tute, particularly the quilting of it.
What a sweet, simple idea! I'm going to give this a try! Thank you!
Thanks for the great tutorial
I need an easy Christmas pillow and I think this one will do very nicely! Love it!
Thanks for a great idea for a wall hanging or pillow.
Gorgeous! Love it! Thanks!
I've never cut triangles before so this looks like a forgiving way to try it! I am making this tonight as a pillow. Great tutorial!
Pretty! I love tree patterns and this one looks so easy to make. I think I'll give it a try this week. Thanks for the tutorial!
Love this! I think I just might be able to get this done this weekend!
Perfect - it's on my to-do list!
That is incredibly cool and creative. Kudos!
Post a Comment